Just a heads-up: this page may contain affiliate links. If you buy through them, we may earn a small commission at no extra cost to you. Learn more.
Hiking trail difficulty ratings exist to help, but they can be misleading if you don’t know what they really mean. This guide will show you how to decode difficulty levels, make sense of elevation gain, and confidently choose trails that match your ability and mindset.
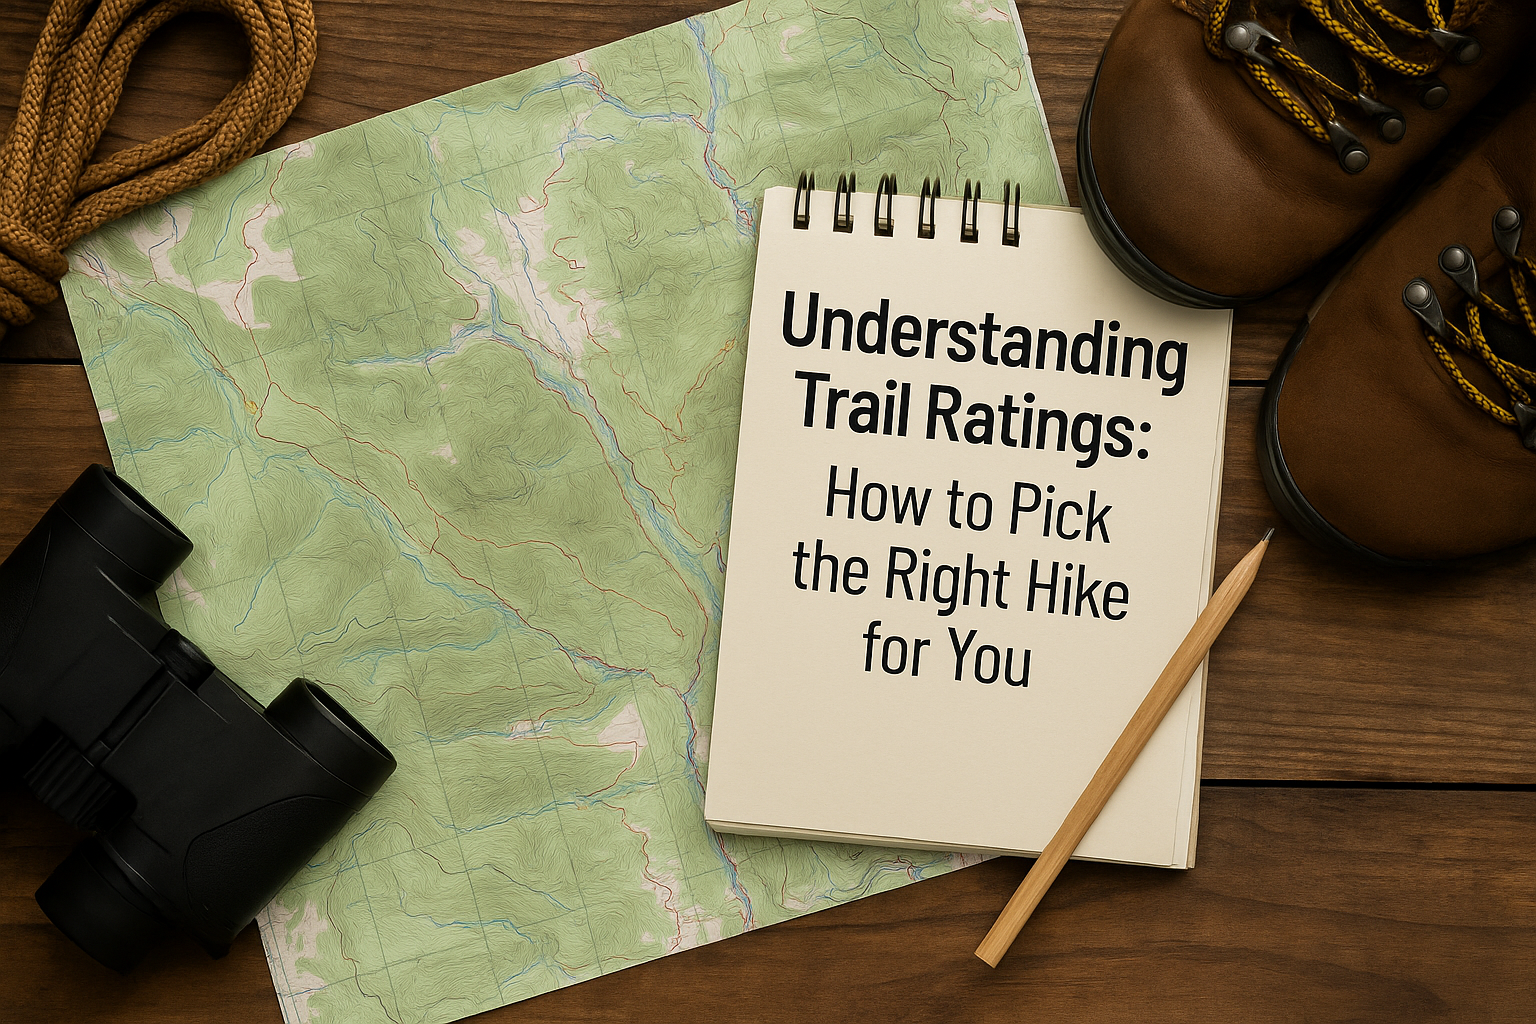
Choosing the right trail can make or break your hiking experience — especially when you’re just starting out. You don’t want to find yourself gasping halfway up a steep climb labeled “moderate” or bored on a flat path when you were hoping for a challenge.
🌿 Why Trail Ratings Matter More Than You Think
On paper, a trail marked “easy” or “moderate” might not sound all that different. But on the ground, the gap can be huge. An easy 3-mile lakeside loop might take 90 minutes with a few water breaks. A 3-mile mountain trail gaining 1,200 feet in elevation could take over two hours — and feel like a mini marathon if you’re not ready for it.
Mismatched trail choice leads to:
- Early exhaustion or frustration
- Increased risk of injury or turning back
- Missing out on the beauty of the experience
For instance, Maah Daah Hey Trail in North Dakota might be marked moderate, but dry heat and exposure can make it feel more intense. Understanding how trails are rated gives you the power to choose the right kind of challenge and actually enjoy yourself out there.
🔍 How to Read Hiking Trail Difficulty Ratings: Easy, Moderate, Hard
Most hiking apps and websites use the same basic categories, but not every park or region defines them the same way. Here’s what they typically mean:
Easy
- Well-marked trails with gentle terrain
- Little to no elevation gain
- Great for families, beginners, or recovery days
📝 Example: A 2-mile loop around a lake with wide dirt paths
Moderate
- Mixed terrain with noticeable hills or stairs
- More time on your feet — often 3–5 miles
- Some rocky or uneven footing
📝 Example: A forested 4-mile trail with a 500 ft climb to a scenic overlook
Hard
- Long, steep climbs or descents
- Technical footing, exposure, or scrambling
- May require fitness preparation or experience
📝 Example: A 7-mile out-and-back with switchbacks, loose rock, and 2,000 ft elevation gain
📈 Distance, Elevation, and Why They Matter Together
One of the biggest beginner mistakes is only looking at distance. You might think, “Four miles? I walk that in town every day!” But trail distance is different — especially when elevation comes into play.
Here’s a quick reference for elevation gain per mile:
- Under 300 ft: Gentle
- 300–600 ft: Moderate
- Over 600 ft: Challenging
Always check:
- Total elevation gain (look for this in the trail description or map)
- Trail type — out-and-back often feels longer than loops
- Surface conditions — rocks, roots, mud, or stairs slow you down
A 3-mile rocky climb can take longer than a smooth 6-mile loop.
🧠 How to Match a Trail to Your Fitness (and Mindset)
Once you’re hiking, keep an eye out for blazes—painted markers on trees or rocks. These match the colors on your map. Blue might indicate a water trail or loop, while red usually marks a more strenuous route. Some trails also use numbered signs that correspond with points on the map.
Use Technology Without Relying on It
Before you pick your next hike, ask yourself:
- How much walking do I normally do in a day?
- Am I okay with hills or stairs?
- Do I want a casual stroll, a good sweat, or a serious challenge?
- Will I be hiking solo, with kids, or with a dog?
Tip: Don’t underestimate the power of mental energy. Even a short hike can feel hard if you’re unsure of the terrain or nervous about wildlife. It’s better to start with trails that leave you feeling strong and accomplished.
🗺️ Tools to Help You Decide Smarter
Before heading out, check multiple sources to get a feel for the trail:
- AllTrails (user reviews, photos, filters for dogs/kids)
- Gaia GPS (topographic info, offline maps)
- Hiking Project (detailed route descriptions)
Always cross-check ratings with recent reviews. Look for comments like:
- “Steep at the beginning, then flattens out”
- “Trail is washed out after rain”
- “Easier than expected for a hard rating”
And if available, grab a paper map at the trailhead — still one of the most reliable backups.
🏁 Final Advice: Start Small and Build Up
You don’t need to conquer the hardest trail on day one. The best way to grow your hiking skills is gradually — increasing distance, elevation, and complexity a little each time. The more time you spend outside, the more you’ll understand your own comfort zone.
Let every hike build your confidence. The trail isn’t a test — it’s your path to freedom, peace, and growth.